(2) Put in SIM Card to the iTegno modem and closed it well.
(3) Put in RS232 iTegno port to the PC and put in the modem Adapter to the electrical power.
(4) Modem will be lightening. Wait for a second and in a second the modem would be flicker and then as simultaneous the modem indikator light would be flickering.
(5) Login as root and extract gnokii-0.6.14.tar.bz2 files to the folder /usr/local/src with this command :
tar xjvf /media/cdrom/gnokii/gnokii-0.6.14.tar.bz2 –C /usr/local/src
(6) Go to the new extracted gnokii source directory gnokii with this command :
cd /usr/local/src/gnokii-0.6.14
(7) Do this step one by one to install new gnokii and have a look if this process successfull or not :
./configure --prefix=/usr/local
make
make install
make install-docs
(8) After step (7) done, copy .gnokiirc file to the root home folder.
cp /media/cdrom/gnokii/.gnokiirc ~/.
For the content of .gnokiirc file, please have a look on my previous article configuring iTegno 3000 with gnokii
(9) You need to make sure that your gnokii version is a new version. Check with this command :
gnokii --version
(10) Now checking the modem to make sure the modem is recognized by gnokii.
gnokii --identify
(11) If the information below shown to you then your modem has been recognized by gnokii.
IMEI : 351621000201970
Manufacturer : WAVECOM MODEM
Model : MULTIBAND 900E 1800
Revision : 543_09gg.Q2406A 1364028 020305 19:10
Serial device: closing device
(12) The next step is installing minicom. Minicom is an important tools to check whether your modem is in the right functional.
dpkg –i /media/cdrom/minicom/minicom_2.1-9_i386.deb
(13) If there's another package then install it simultaneously with that minicom package.
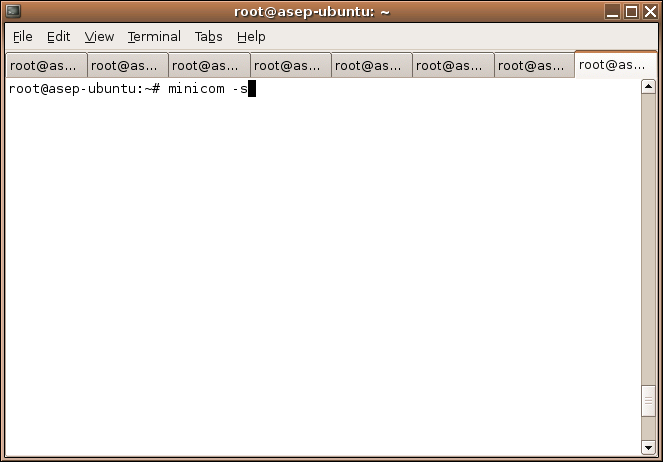
(14) The next step are operating the minicom. First, we need to setup minicom with the right serial baudrate and parity. Type in the linux console like this image below :
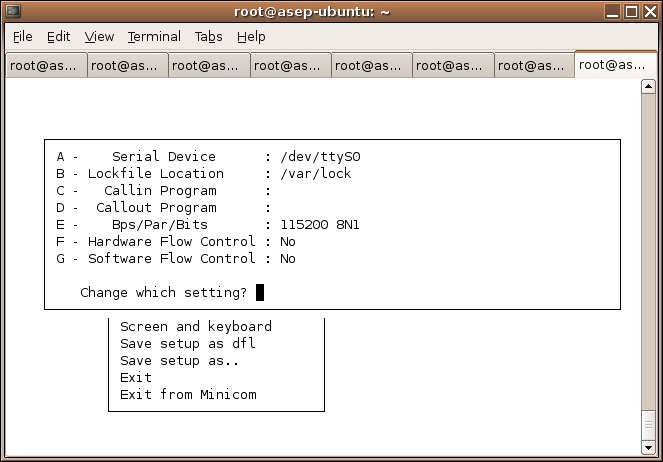
(15) Then you will be prompted with a menu like this image below. Choose Serial port setup.

(16) Put in the configuration / setting like this image below. And after all the configuration complete, press
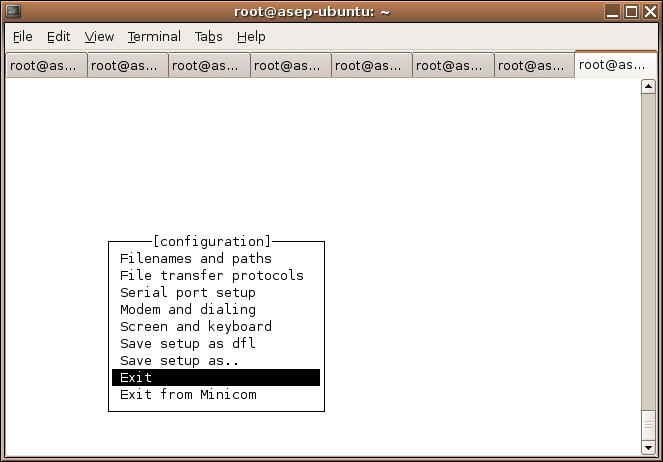
(17) Choose Exit menu to exit from minicom setting menu.
(18) You will be prompted to the screen where you are able to typing the AT command.

(19) Type AT
Type AT+COPS?
AT+COPS? use this command to get your provider.
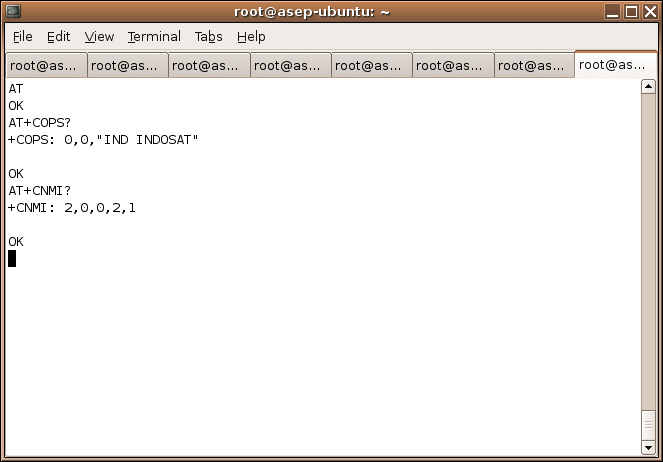
Type AT+CNMI?
You need to make sure the value +CNMI: 2,0,0,2,1
If the value is different then you have to set the value with this command :
AT+CNMI=2,0,0,2,1
Save CNMI setting in your modem with this command :
AT&W
Check again whether +CNMI setting already 2,0,0,2,1
AT+CNMI?
(20) After finishing and +CNMI setting is right, press Ctrl-A then Z. Then you will be redirecting to the screen like this below.

(21) Choose Quit with no reset then you will be prompted to the screen :
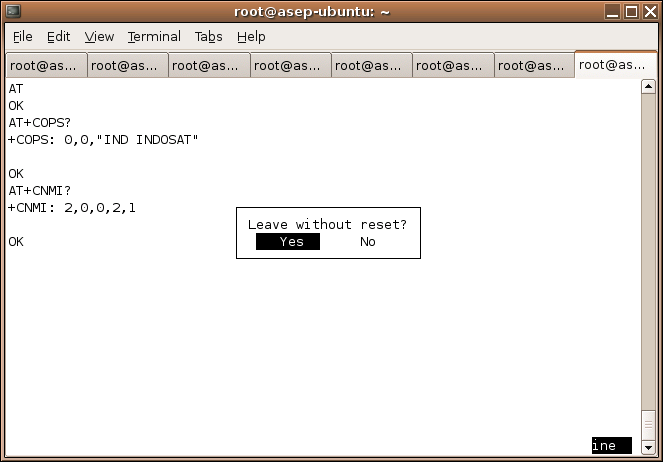
(22) Choose Yes and you'll taken to linux terminal. Then you need to check if gnokii can sending sms or tidak. Type this command :
echo "sending sms from gnokii " | gnokii --sendsms +6285659969486 -r
(23) If in your SIM Card inbox already a sms, then check with this command below. This command very important to check whether gnokii can read the data from your SIM Card or not. If in this step not working then you must repeat gnokii installation from the beginning. To make sure if in your inbox already a sms or not, please send one sms to your SIM Card in your modem.
gnokii --getsms SM 1
If the final result is :
Received message type 12
GetSMS SM 1 failed! (Command failed.)
Serial device: closing device
Then, there is something wrong with your gnokii source.
(24) If there is no problem then we go to the next step to install smsd. Go to the smsd source directory.
cd /usr/local/src/gnokii-0.6.14/smsd
make
make install
(25) If there is no error then your smsd installation successfully complete. Go ahead to running up the smsd service manually to see the output on your linux console. Then try the application (for example : playsms).
(26) Finish.
No comments:
Post a Comment